904 Real Estate Photography
Saturday Showcase: 5 Steps to Turn Your Jax Listing Into a Scroll-Stopping Reel (Easy Guide for Busy Agents)

{
“@context”: “https://schema.org”,
“@type”: “HowTo”,
“name”: “5 Steps to Turn Your Jax Listing Into a Scroll-Stopping Reel”,
“description”: “A practical guide for busy Jacksonville agents to turn professional listing media into short-form Reel content using horizontal cinematic walkthrough footage, professional still photos, drone media, captions, and simple editing.”,
“step”: [
{
“@type”: “HowToStep”,
“position”: 1,
“name”: “Repurpose the horizontal cinematic video walkthrough footage and professional still photos into vertical-friendly Reel content”,
“text”: “Start with the horizontal cinematic video walkthrough footage and professional still photos from your listing media package. Crop strong walkthrough clips to 9:16, build photo-based Reels from still images, or combine both for a polished short-form post.”
},
{
“@type”: “HowToStep”,
“position”: 2,
“name”: “Hook viewers in the first three seconds”,
“text”: “Open with the strongest visual, such as a waterfront backyard, dramatic kitchen, pool, drone angle, bright living room, or before-and-after transformation. Add a short text overlay immediately.”
},
{
“@type”: “HowToStep”,
“position”: 3,
“name”: “Keep the Reel under 30 seconds and end with a CTA”,
“text”: “Aim for a 15 to 30 second Reel with quick cuts, strong feature highlights, and a clear final call to action such as DMing for details or scheduling a private showing.”
},
{
“@type”: “HowToStep”,
“position”: 4,
“name”: “Add captions, audio, and text overlays”,
“text”: “Use readable captions, short feature callouts, and music or original audio that fits the property while keeping the content understandable even when muted.”
},
{
“@type”: “HowToStep”,
“position”: 5,
“name”: “Turn one shoot into a weekly content plan”,
“text”: “Rotate listing trailers, before-and-after transformations, drone aerials, behind-the-scenes content, and neighborhood tours using the same professional media package.”
}
],
“tool”: [
{
“@type”: “HowToTool”,
“name”: “Professional listing photos or video footage”
},
{
“@type”: “HowToTool”,
“name”: “Video editing app”
},
{
“@type”: “HowToTool”,
“name”: “Captions and text overlays”
}
]
}
Saturday Showcase is your quick, practical guide to making better listing content without adding another full-time job to your schedule.
For busy Jacksonville agents, the good news is that you do not need to film something completely new every day. One professional real estate shoot can give you enough content for a polished Reel, several feed posts, Stories, and even neighborhood-focused marketing. With 904 Real Estate Photography, still photos are delivered the next day, and horizontal cinematic video walkthroughs are delivered within 2 days, giving you polished media you can repurpose quickly.
The key is to treat a Reel like a trailer: not the entire property tour. Give viewers a compelling reason to stop, show them the best features quickly, and direct them toward the next step.
Here are five simple steps to turn your professional listing media into a Reel that earns attention.
1. Repurpose Your Horizontal Walkthrough and Still Photos for Vertical Reels
The easiest Reel content often comes from media you already received for the listing.
You do not need a separate vertical video shoot to create effective social content. Start with the horizontal cinematic video walkthrough footage and professional still photos from your listing media package, then adapt them for vertical platforms.
A few easy ways to repurpose that media:
- Crop strong horizontal walkthrough clips to a 9:16 vertical frame for Reels and Stories
- Use the center portion of a kitchen reveal, living room pass-through, or backyard approach
- Pull a drone clip and reframe it vertically to emphasize the property and surroundings
- Build a photo-based Reel from still images using motion effects, zooms, and text overlays
- Combine cropped walkthrough clips with still photos for variety and pacing
A simple mixed-media Reel can include:
- The exterior or best aerial image
- A cropped walkthrough clip of the main living area
- The kitchen
- The owner’s suite
- The backyard or standout feature
- A final call to action
A simple photo-based Reel can also work well when you want a faster edit. Use the strongest stills in a clear sequence and let the text overlays guide the story.
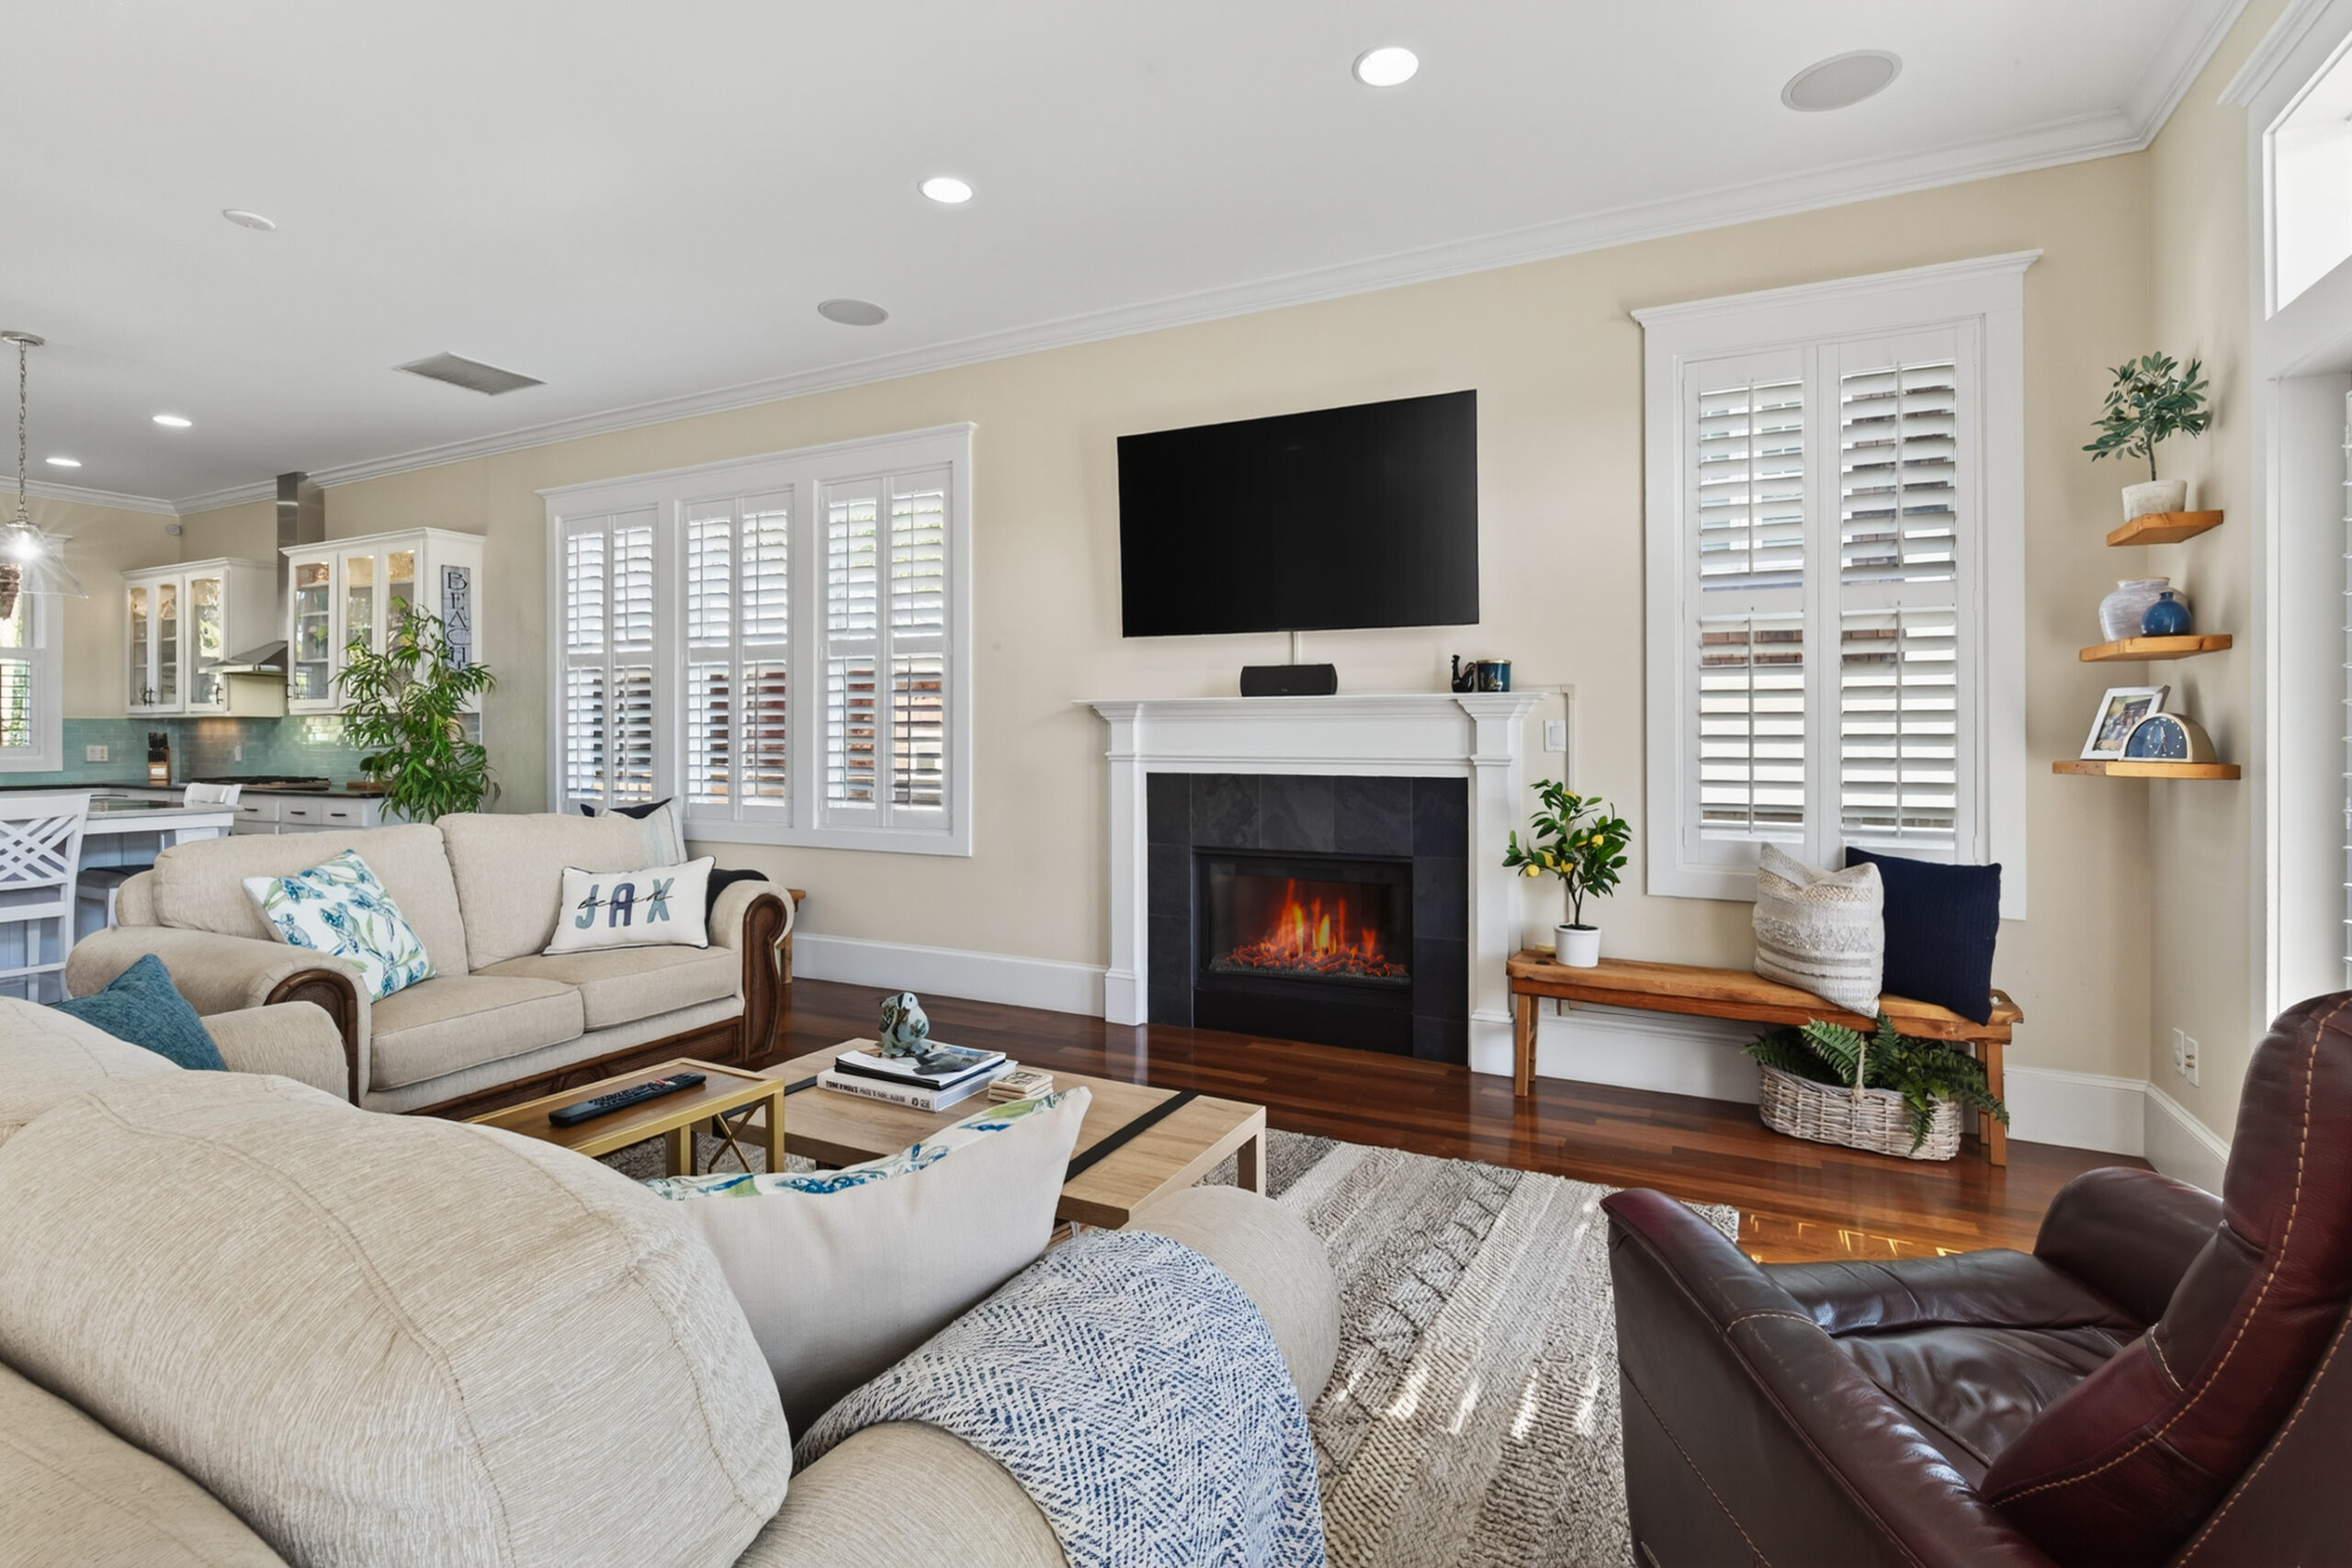
Professional still images are especially useful when they are sharp, well-composed, and consistent. High-quality jacksonville real estate photography gives you a strong foundation, and horizontal cinematic walkthrough footage gives you even more flexibility for short-form content.
Quick workflow for busy agents
When your media is delivered, create a folder labeled “Reel Clips” and save:
- Three to five short sections from the cinematic walkthrough that crop cleanly to 9:16
- Five to eight strongest listing photos
- One exterior or drone image
- The property address and key features
- Your preferred call to action
That small amount of organization can turn future posting into a 15-minute editing task instead of a scramble to find content.
2. Hook Viewers in the First Three Seconds
People scroll quickly. Your opening frame needs to communicate value immediately.
Do not begin with a long logo animation, a slow walk through an empty hallway, or an introduction that takes several seconds to reach the property. Start with the money shot.
Your best opening could be:
- A wide view of a waterfront backyard
- A dramatic kitchen reveal
- A pool and outdoor living area
- A drone shot showing the home’s location
- A bright, spacious living room
- A before-and-after transformation
Add a short text overlay from the first frame. The overlay should be easy to read and specific to the listing.
Examples include:
- “Waterfront living in Jacksonville”
- “Just listed in St. Johns”
- “A backyard made for entertaining”
- “This Nocatee home has it all”
- “Wait until you see the primary suite”
- “Minutes from the beach”
Keep your main text in the center or upper-middle portion of the screen. Avoid placing important information too close to the bottom, where captions and platform controls may cover it.
A useful formula is:
Visual payoff + clear promise + local relevance
For example, open with a drone view of the property and add:
“Your next North Florida weekend starts here.”
Then follow with the home’s strongest interior and exterior features.
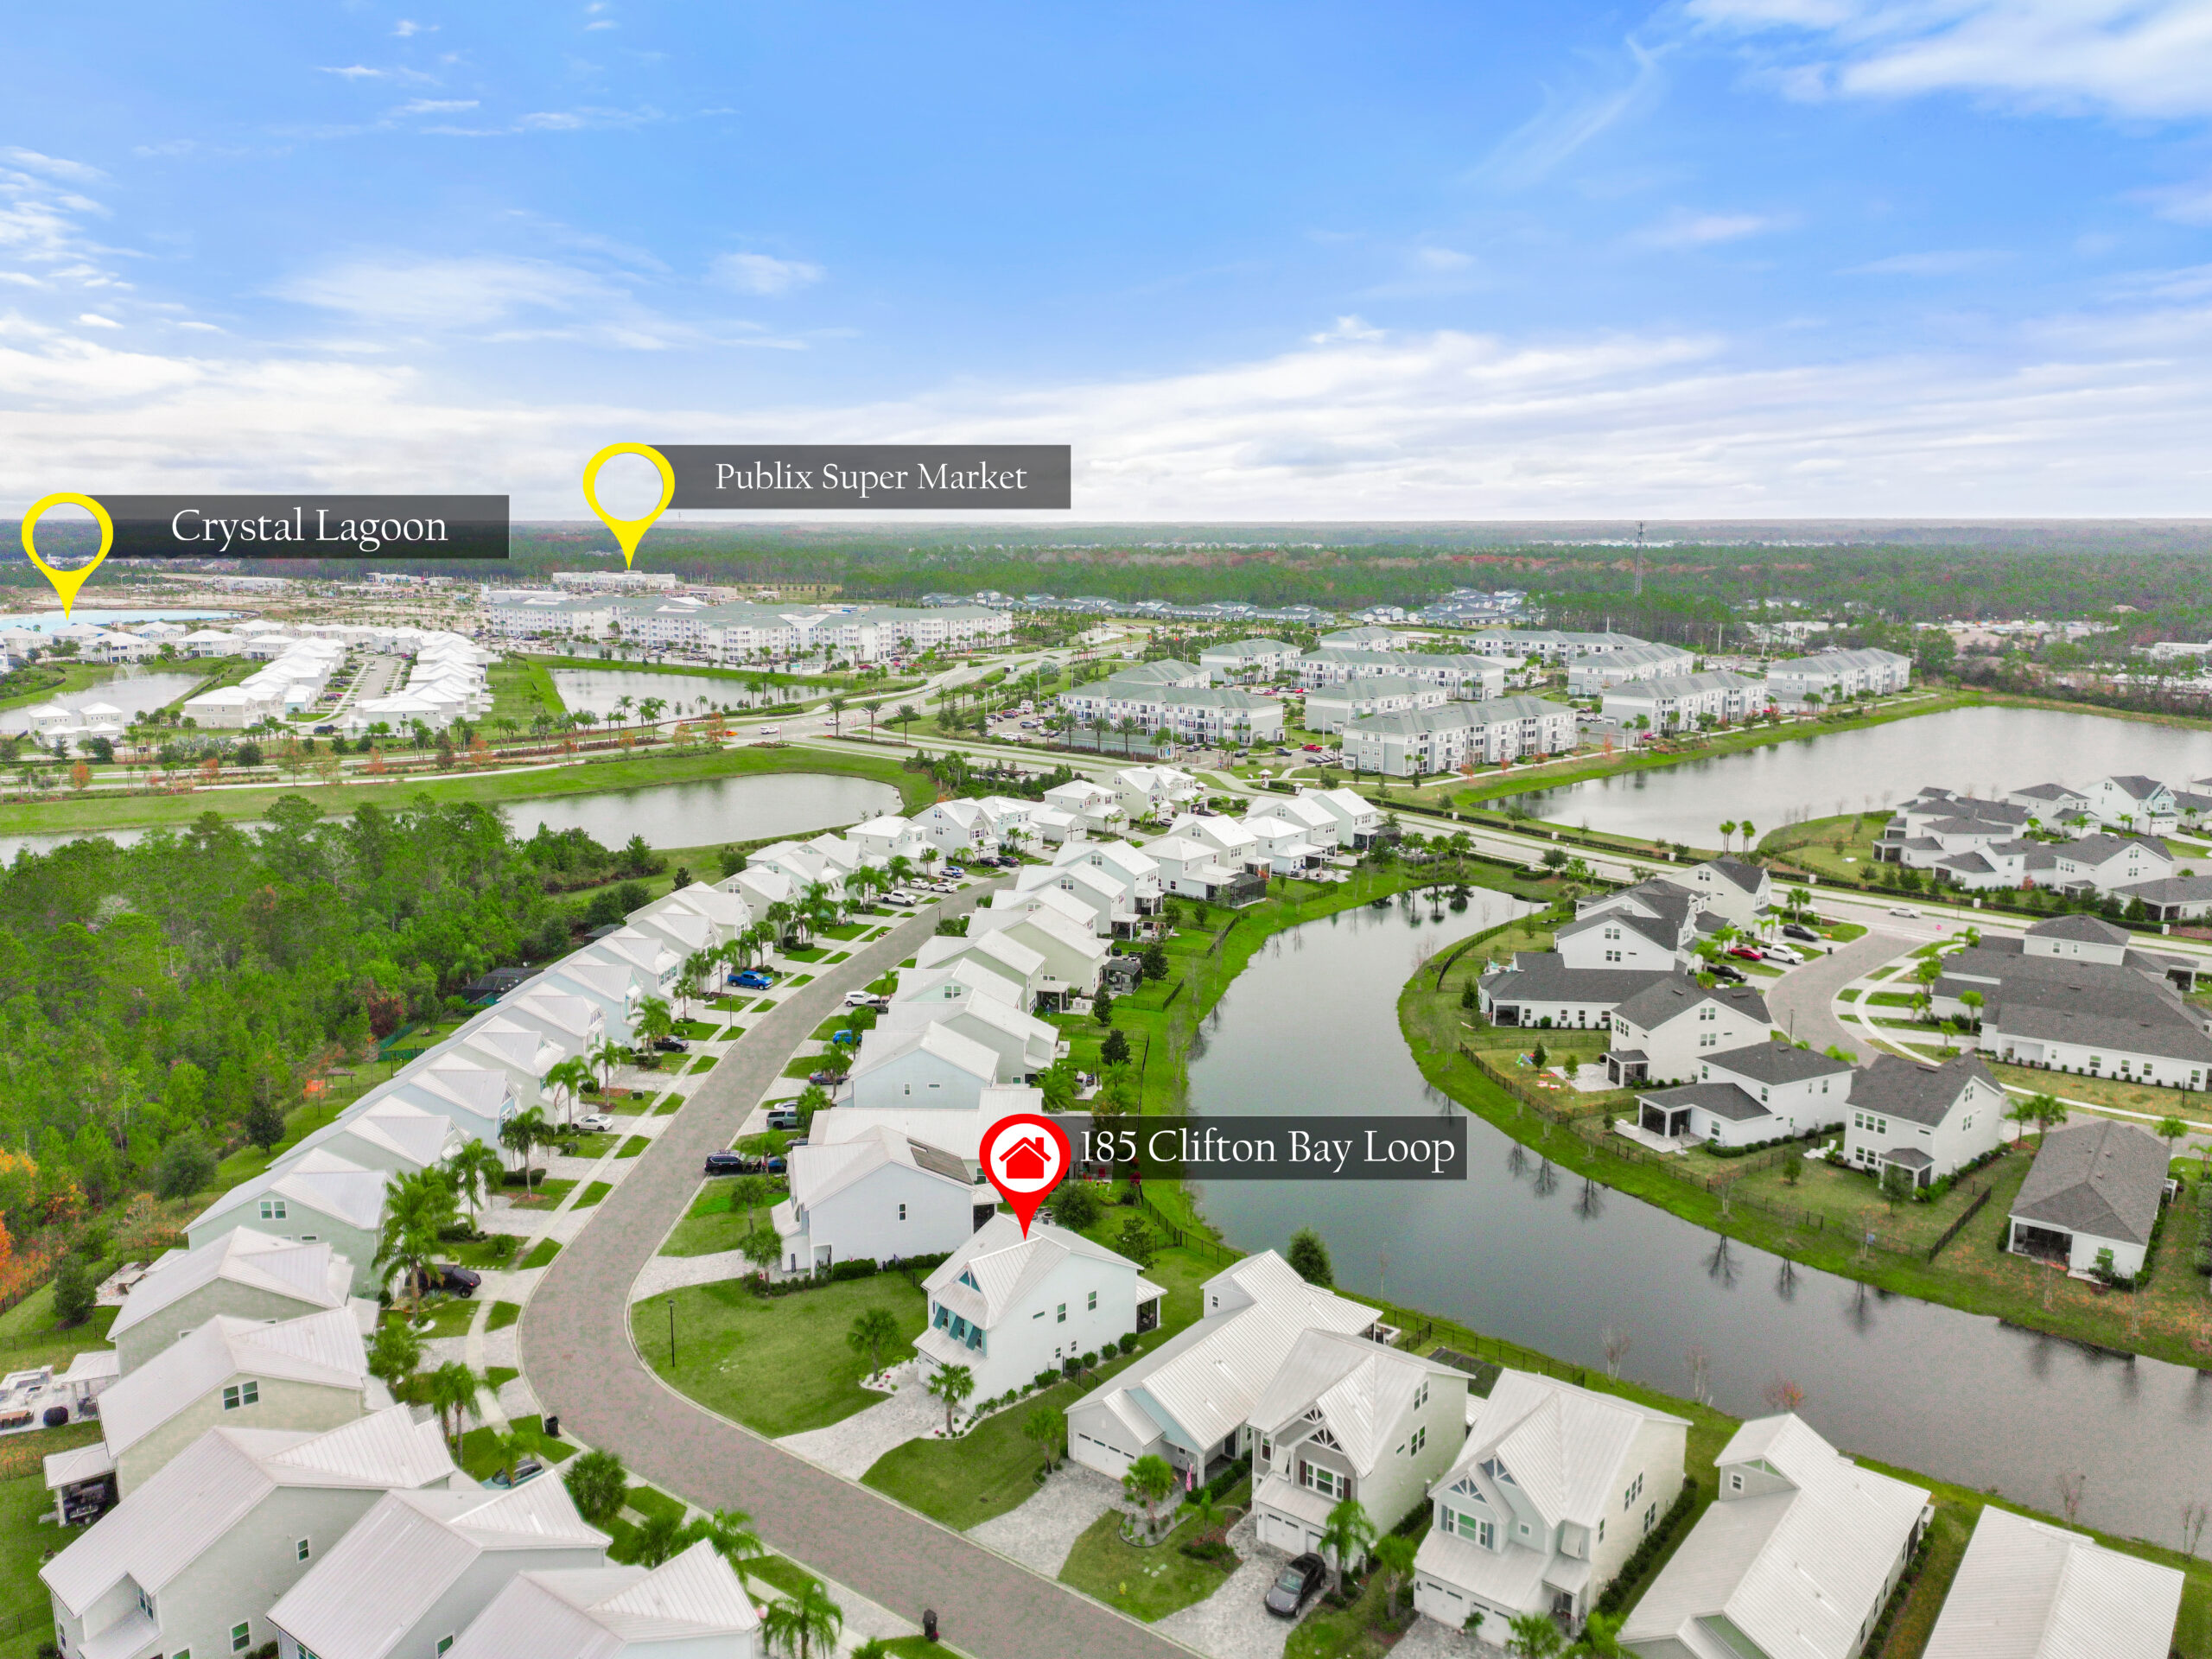
If the listing has a location-based selling point, use professional drone media to provide context. Aerial footage can show the relationship between a property, nearby water, parks, community amenities, and surrounding neighborhoods. For commercial real estate marketing, drone operations should follow applicable FAA requirements, including Part 107 guidance for commercial drone pilots.
3. Keep the Reel Under 30 Seconds: and End With a CTA
A Reel should create interest, not replace the full listing presentation.
For most property showcases, aim for 15 to 30 seconds. Use quick cuts and show only the features that help viewers understand why the property deserves a closer look.
A simple 25-second structure might look like this:
- 0–3 seconds: Best feature and text hook
- 3–8 seconds: Exterior, entry, or main living area
- 8–14 seconds: Kitchen and primary suite
- 14–20 seconds: Outdoor living, pool, water view, or special feature
- 20–25 seconds: Agent branding and call to action
Your final frame should tell viewers what to do next. Avoid ending on a random hallway or a fading logo.
Try calls to action such as:
- “DM me ‘TOUR’ for details.”
- “Save this home for your weekend tour.”
- “Message me to schedule a private showing.”
- “Comment ‘INFO’ and I’ll send the details.”
- “See the full tour at the link in my bio.”
You can also direct viewers to a branded property website. A dedicated page gives prospective buyers one place to view photos, video, floor plans, property details, and interactive tours.
A Reel earns the click; the rest of your media helps convert that interest into a serious inquiry.
4. Add Captions, Audio, and Text Overlays
Your Reel should still make sense when the sound is off.
That means adding captions or short text overlays to identify the most important features. Keep the copy brief enough to read while the video is moving.
Useful overlays include:
- “4 bedrooms”
- “Open-concept kitchen”
- “Lakefront backyard”
- “Covered lanai”
- “Three-car garage”
- “New roof”
- “Primary suite downstairs”
- “St. Johns County”
If you speak on camera or use a voiceover, turn on automatic captions and review them before publishing. Correct names, neighborhoods, street names, and real estate terminology manually.
For audio, select music that matches the property and is available for your account to use. Trending audio can help a Reel feel current, but it should support the listing rather than overpower it. A calm, polished track may fit a luxury waterfront home, while a more energetic sound could work for a family-friendly community tour.
You can also use original audio:
- A quick agent introduction
- A voiceover explaining the home’s best feature
- A short neighborhood tip
- Natural sounds from a patio, pool, or outdoor space
Do not rely on music alone to communicate the story. The property should remain understandable through the visuals and text overlays.
This is also where professional editing enhancements can add impact. A virtually staged room can help buyers imagine how an empty space might function. Digital decluttering can remove distracting objects from a frame. Virtual twilight editing can create a more inviting evening feel without requiring a second photo session.

Be transparent with enhancements and make sure your final media accurately represents the property. The goal is to clarify the home’s potential: not mislead viewers.
5. Turn One Shoot Into a Weekly Content Plan
One Reel is better than no Reel, but a repeatable content system is more valuable than a one-time post.
Aim to post three to five times per week when your schedule and audience support it. You do not need to create five completely different videos. Instead, rotate content types from the same professional shoot and listing campaign.
Here is an example weekly rotation:
Monday: Listing trailer
Use your strongest interior or exterior footage. Open with the best feature, add key details, and end with a showing-related call to action.
Tuesday: Before-and-after transformation
Show a virtually staged room, digital decluttering result, virtual twilight edit, or seasonal yard enhancement. Transformation content naturally encourages viewers to stop and compare.
Wednesday: Drone aerial
Use an aerial clip or photo to show the property’s lot, water view, neighborhood setting, or proximity to community amenities.
Thursday: Behind the scenes
Show the photography process, staging preparation, lighting setup, or a quick moment from shoot day. This helps potential clients see the work behind polished listing media.
Friday or Saturday: Neighborhood tour
Pair a property image with local context: nearby parks, shopping, beaches, trails, dining, or community amenities. Keep location claims accurate and avoid implying proximity that has not been verified.
A cinematic video walkthrough gives you a particularly useful source of content because horizontal footage can be cropped into multiple short 9:16 clips for Reels and Stories. Professional still photos can become photo-based Reels. Used together, they give you a steady stream of polished content from one listing appointment. Drone video can become a location Reel. A Zillow or Matterport 3D tour can support a “tour from anywhere” post. A 2D floor plan can become a carousel or a quick explainer about how the home flows.
What’s Included With Your Photo Shoot?
When your media partner plans for both listing marketing and social content, you can get more value from one appointment. At 904 Real Estate Photography, photo shoots include:
- 2D floor plan
- Next-day delivery by midnight
- Free blue sky guarantee on exterior shoots
- A branded property website
You can also add cinematic video walkthroughs, FAA-compliant drone photography and video, Zillow and Matterport 3D tours, virtual staging, digital decluttering, virtual twilight editing, and seasonal yard enhancements.
Most importantly, you work with one dedicated photographer: the owner: on every shoot. That creates a consistent visual standard across your listings and gives you one reliable partner for the media your marketing plan depends on.
Explore the complete real estate media services or learn more about Jacksonville real estate photography.
The Saturday Showcase Takeaway
A scroll-stopping Reel does not require a complicated production team or hours of new filming. Start with one professional shoot and build from the horizontal walkthrough footage and still photos you already have.
Remember the five steps:
- Repurpose horizontal walkthrough footage and professional photos into vertical-friendly Reel content.
- Lead with the money shot and hook viewers in the first three seconds.
- Keep the Reel under 30 seconds and finish with a clear call to action.
- Use captions, trending or appropriate audio, and readable text overlays.
- Post consistently while rotating listing trailers, transformations, aerials, behind-the-scenes content, and neighborhood tours.
With a strong media library and a simple weekly plan, your next Jax listing can keep working long after the photographer leaves the property.
Schedule your next shoot with 904 Real Estate Photography.
{“name”:”How to Turn a Jacksonville Listing Into a Scroll-Stopping Reel”,”step”:[{“name”:”Capture vertical footage or repurpose existing media”,”text”:”Capture vertical clips on shoot day when possible, or crop existing horizontal walkthrough footage and combine professional listing photos into a vertical Reel.”,”@type”:”HowToStep”,”position”:1},{“name”:”Hook viewers in the first three seconds”,”text”:”Open with the strongest property feature and add a short, readable text overlay that communicates the listing’s main benefit.”,”@type”:”HowToStep”,”position”:2},{“name”:”Keep the Reel under 30 seconds”,”text”:”Use the Reel as a short property trailer with quick cuts, then end with a specific call to action such as requesting a tour or sending a direct message.”,”@type”:”HowToStep”,”position”:3},{“name”:”Add captions, audio, and text overlays”,”text”:”Make the Reel understandable with sound off by adding captions, feature overlays, and audio that fits the property and is available for commercial use.”,”@type”:”HowToStep”,”position”:4},{“name”:”Post consistently using a content rotation”,”text”:”Post three to five times per week by rotating listing trailers, before-and-after transformations, drone aerials, behind-the-scenes clips, and neighborhood tours.”,”@type”:”HowToStep”,”position”:5}],”tool”:[{“name”:”Professional listing photos or video footage”,”@type”:”HowToTool”},{“name”:”Vertical video editing app”,”@type”:”HowToTool”},{“name”:”Captions and text overlays”,”@type”:”HowToTool”}],”@type”:”HowTo”,”image”:”https://904realestatephotography.com/wp-content/uploads/2025/06/92745-Shipton-1-scaled.jpg”,”author”:{“name”:”Shawn Jolly”,”@type”:”Person”},”@context”:”https://schema.org”,”publisher”:{“url”:”https://904realestatephotography.com/”,”name”:”904 Real Estate Photography”,”@type”:”Organization”},”totalTime”:”PT30M”,”description”:”A five-step guide for busy real estate agents who want to create short-form listing Reels from one professional real estate media shoot.”}